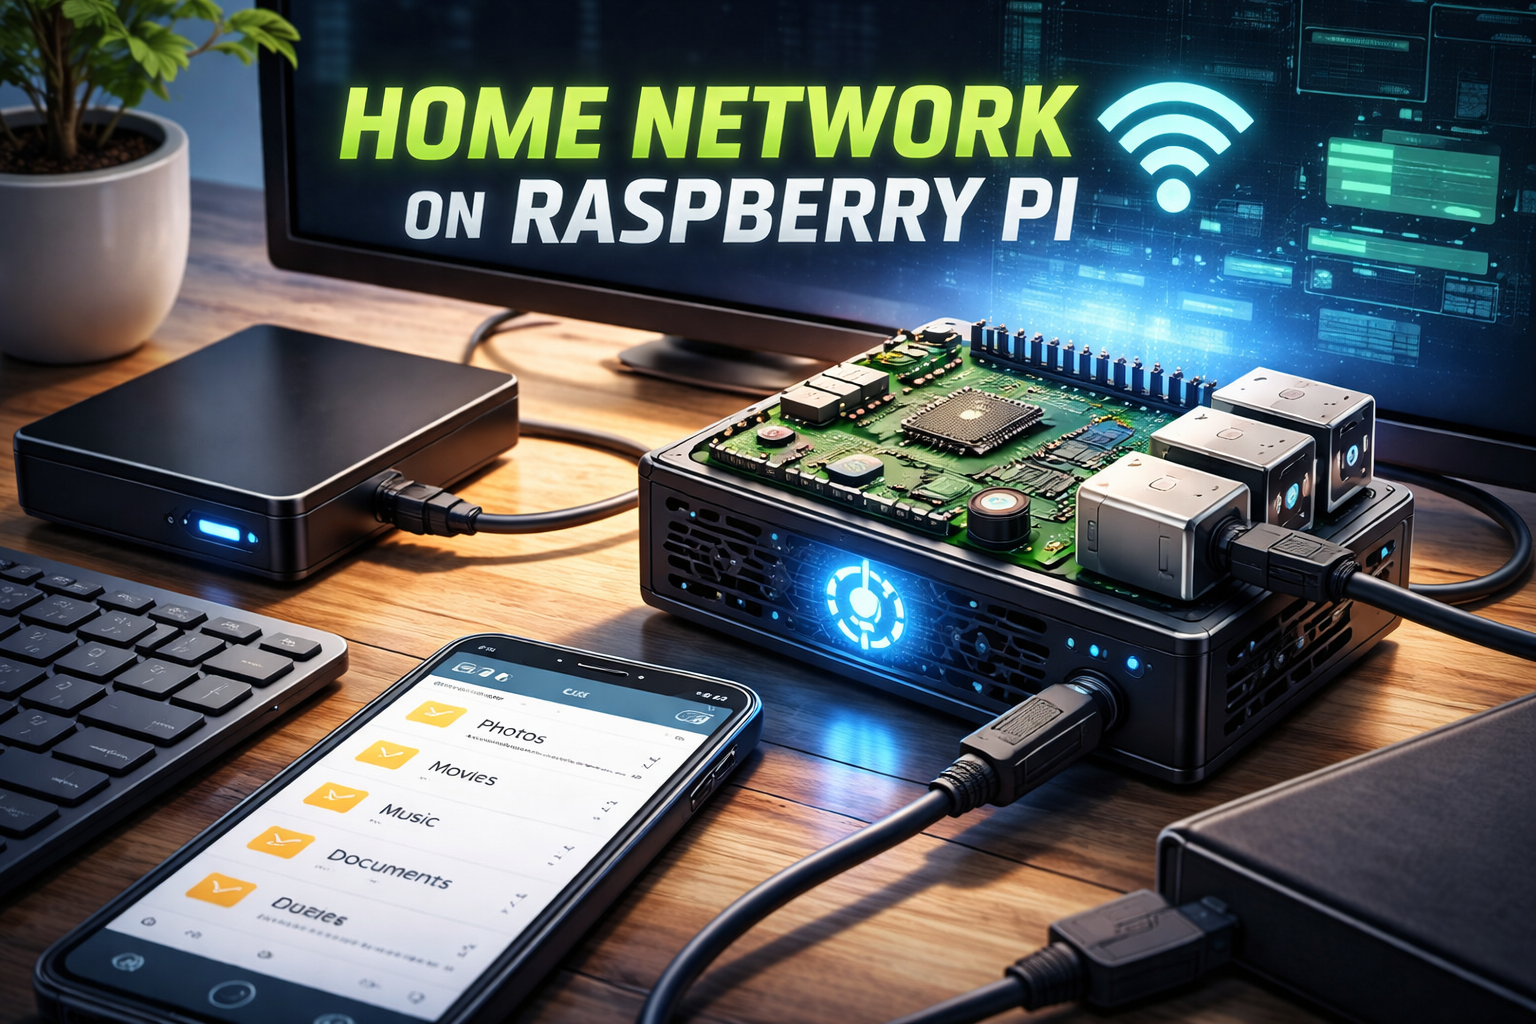
DIY Raspberry Pi NAS: exFAT SSD & Samba Sharing
Introduction
Ever found your Raspberry Pi running out of storage, or wished you could easily share a large pool of files across your home network? You're in luck! This guide will walk you through transforming your humble Raspberry Pi into a capable Network Attached Storage (NAS) device. We'll connect an exFAT-formatted SSD, mount it reliably, and then set up a Samba server to make its contents accessible to all your devices – Windows, macOS, Linux, and even smart TVs.
Using an SSD not only gives you ample storage but also offers significant speed advantages over traditional SD cards or HDDs, especially for frequent file access. Let's get started!
Prerequisites
Before we dive in, make sure you have the following:
- Raspberry Pi: Any modern model (Pi 3B+, Pi 4, or Pi 5) is recommended for better performance.
- USB SSD: An external SSD, preferably in a USB enclosure or a USB-to-SATA adapter.
- Power Supply: A robust power supply for your Raspberry Pi, especially if powering the SSD directly from the Pi's USB ports (some SSDs might require external power).
- Ethernet Cable: For a stable network connection, an Ethernet cable is highly recommended over Wi-Fi.
- Raspberry Pi OS: A fresh installation of Raspberry Pi OS (formerly Raspbian).
- Basic Linux Knowledge: Familiarity with the terminal is helpful.
Step 1: Prepare Your Raspberry Pi
First, ensure your Raspberry Pi's operating system is up-to-date. This ensures you have the latest security patches and package versions.
Open a terminal and run:
bashsudo apt update sudo apt upgrade -y
Next, we need to install the necessary utilities to handle exFAT file systems. exFAT is a common format for external drives, offering compatibility across Windows, macOS, and Linux.
bashsudo apt install exfat-fuse exfat-utils -y
It's also good practice to have NTFS support, just in case you ever connect an NTFS drive:
bashsudo apt install ntfs-3g -y
Step 2: Connect and Identify Your SSD
Physically connect your USB SSD to one of your Raspberry Pi's USB ports. For Raspberry Pi 4/5, use a USB 3.0 port for optimal speed.
Now, we need to identify the device name of your SSD. Use the
lsblkbashlsblk
You'll see output similar to this (your device names might vary):
textNAME MAJ:MIN RM SIZE RO TYPE MOUNTPOINT sda 8:0 0 232.9G 0 disk └─sda1 8:1 0 232.9G 0 part micro-sd 179:0 0 29.7G 0 disk ├─micro-sd1 179:1 0 256M 0 part /boot └─micro-sd2 179:2 0 29.4G 0 part /
In this example,
/dev/sda/dev/sda1sda1mmcblk0sdafdiskmkfs.exfatStep 3: Mount the exFAT SSD
We need a place on the file system to "attach" our SSD. This is called a mount point. Let's create one:
bashsudo mkdir /mnt/ssd_share
Now, let's manually mount the SSD to test it:
bashsudo mount /dev/sda1 /mnt/ssd_share
Replace
/dev/sda1df -hbashdf -h
You should see
/mnt/ssd_sharePersistent Mounting with text/etc/fstab
/etc/fstabTo ensure your SSD automatically mounts every time your Raspberry Pi boots, we'll edit the
/etc/fstab/dev/sda1Find the UUID of your SSD's partition:
bashsudo blkid /dev/sda1
You'll get output like:
text/dev/sda1: UUID="YOUR_SSD_UUID" TYPE="exfat" PARTUUID="..."
Copy your
UUID/etc/fstabbashsudo nano /etc/fstab
Add the following line to the end of the file, replacing
YOUR_SSD_UUIDtextUUID=YOUR_SSD_UUID /mnt/ssd_share exfat defaults,nofail,users,uid=1000,gid=1000 0 0
Let's break down those options:
- : Identifies the device.text
UUID=YOUR_SSD_UUID - : The mount point we created.text
/mnt/ssd_share - : Specifies the filesystem type.text
exfat - : Basic mount options.text
defaults - : Prevents the system from failing to boot if the drive isn't present.text
nofail - : Allows any user to mount and unmount the filesystem (though we're mounting at boot).text
users - : Assigns ownership of the mounted filesystem to the defaulttext
uid=1000,gid=1000user (UID 1000) and group (GID 1000). This is crucial for Samba to work without permission issues.textpi
Save and exit (
Ctrl+OEnterCtrl+XTest the
fstabbashsudo umount /mnt/ssd_share sudo mount -a
Check
df -hStep 4: Install and Configure Samba
Samba is a re-implementation of the SMB/CIFS networking protocol, allowing Linux/Unix machines to interact with Windows-based network shares.
Install Samba:
bashsudo apt install samba samba-common-bin -y
Before modifying the Samba configuration, it's wise to create a backup:
bashsudo cp /etc/samba/smb.conf /etc/samba/smb.conf.bak
Now, open the main Samba configuration file for editing:
bashsudo nano /etc/samba/smb.conf
Scroll to the very end of the file and add a new share definition. Here's a common setup for a basic shared drive. Feel free to adjust the
[SSD_Share]ini[SSD_Share] comment = Raspberry Pi SSD Network Share path = /mnt/ssd_share browseable = yes read only = no guest ok = no create mask = 0775 directory mask = 0775 valid users = pi # If you want to allow anonymous access (less secure), uncomment the line below: # guest ok = yes # force user = pi # force group = pi
Let's explain these parameters:
- : The name of your share as it will appear on the network.text
[SSD_Share] - : A descriptive text for your share.text
comment - : The absolute path to your mounted SSD.text
path - : Allows clients to see this share when browsing the network.text
browseable = yes - : Allows users to write to the share.text
read only = no - : Disables anonymous access. This is recommended for security.text
guest ok = no - : Sets file permissions for newly created files (owner/group full, others read/execute).text
create mask = 0775 - : Sets directory permissions for newly created directories.text
directory mask = 0775 - : Specifies which users are allowed to connect to this share. Replacetext
valid users = piwith other Linux usernames if needed, separated by commas.textpi
Save and exit (
Ctrl+OEnterCtrl+XCreate a Samba User
Samba users are separate from system users. You need to add a system user to Samba's password database. We'll use the default
pibashsudo smbpasswd -a pi
You'll be prompted to set a new Samba password for the
piFinally, restart the Samba service to apply the changes:
bashsudo systemctl restart smbd
Step 5: Access the Share from Your Network
Now that your Samba share is configured, you can access it from other devices on your local network.
On Windows
Open File Explorer, type
\\RASPBERRYPI_IP_ADDRESS\SSD_Share\\raspberrypi\SSD_ShareraspberrypipiOn macOS
From the Finder, go to
Go > Connect to Server...Command+Ksmb://RASPBERRYPI_IP_ADDRESS/SSD_Sharesmb://raspberrypi/SSD_ShareConnectOn Linux
Most file managers (Nautilus, Dolphin) can connect to SMB shares. Look for an option like
Connect to ServerNetworksmb://RASPBERRYPI_IP_ADDRESS/SSD_ShareTroubleshooting Tips
- Permissions: If you can connect but can't write, it's almost always a permissions issue. Ensure is in yourtext
uid=1000,gid=1000for the exFAT drive, and check thetextfstabandtextcreate maskintextdirectory mask.textsmb.conf - SSD Not Mounting: Double-check the UUID in . If you're usingtext
/etc/fstab, the Pi will boot but the drive won't be mounted. Checktextnofailfor errors during boot related to your SSD.textdmesg - Samba Not Accessible: Verify the Raspberry Pi's IP address (). Ensure Samba is running (text
hostname -I). Check if your firewall (if enabled) is blocking ports 139 and 445.textsudo systemctl status smbd - Power Issues: Some SSDs require more power than the Raspberry Pi's USB ports can reliably provide, especially older Pi models. Consider a powered USB hub if you experience intermittent disconnections or performance problems.
- Hostname vs. IP: If doesn't work, try using the Raspberry Pi's IP address instead.text
\\raspberrypi
Conclusion
Congratulations! You've successfully transformed your Raspberry Pi into a basic yet powerful NAS device. You now have a network-accessible exFAT SSD, offering flexible storage for your files, backups, or media library. This setup is a fantastic way to repurpose an old Pi or expand the capabilities of a new one, providing convenient centralized storage for your entire home network. Enjoy your new DIY NAS!
Comments (0)
No comments yet. Be the first to share your thoughts!